Eye makeup is a great way to make your eyes look more beautiful. Now-a-days there are innumerable eye makeup styles and techniques available to suite any woman’s needs. We present you some of the most awesome Eye makeup pictures that will make sure leave you wanting those on your own eyes.
Check below some of the most amazing eye makeup pictures here:
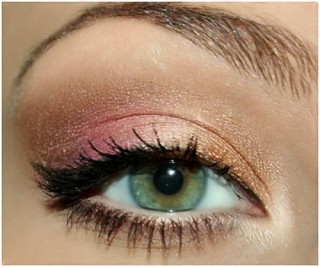
1. Pink Gold Eye Makeup:
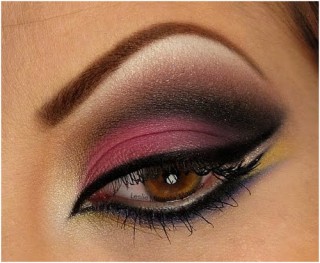
2. Hot Pink Smokey Eyes:
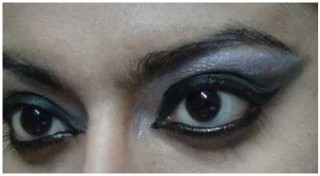
3. Arabic Eye Makeup:
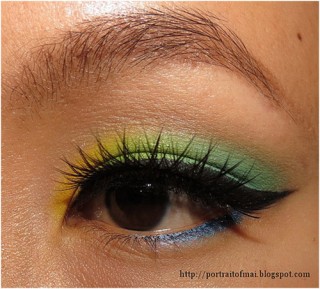
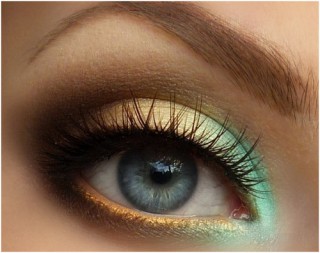
4. Yellow and Green Eye Makeup:
A great eye makeup looks with yellow and green and a small hint of blue.
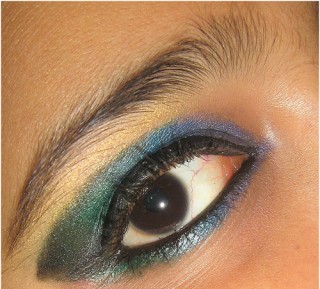
5. Peacock Eye Makeup:
Peacock eye makeup tutorial for those who love color and are not afraid to go bold with colors.
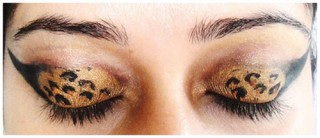
6. Leopard Eye Look:
Love animal prints? Then this one is surely a great way to express your love for animal prints. Check out this leopard eye look tutorial.
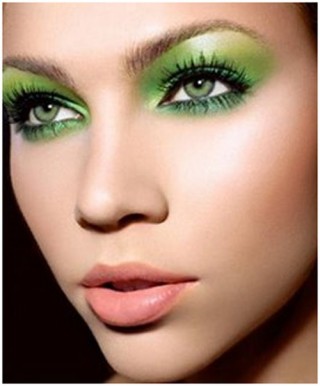
7. Electric Green Eye Makeup:
8. Rocker Eye Makeup:
Rocker eyes makeup tutorial using bright shades. This look is great for a night out or a traditional wear.
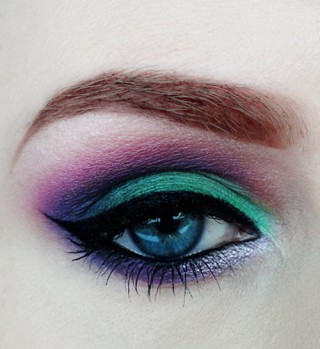
9. Dark Green and Purple Eyes:
A colorful eye makeup looks again with lots of eye liner and bright shades. This look uses dark green, purple pink and silver shades for this particular look.
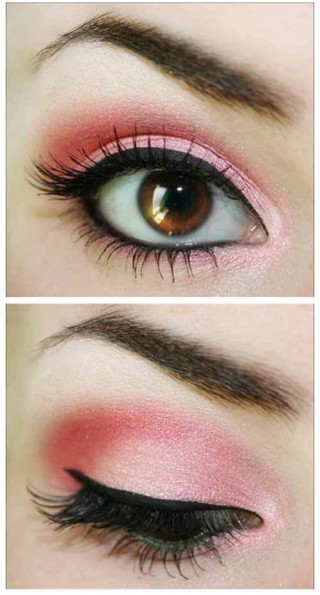
10. Bright Pink Eye Makeup:
This is a bright pink look with a thin line of liner. The look is appropriate for a romantic date or a traditional event.
11. Gold Rose & Brown Eye Makeup:
This look comprises of gold rose and brown shades and is very subtle. You may wear this on a day event too.
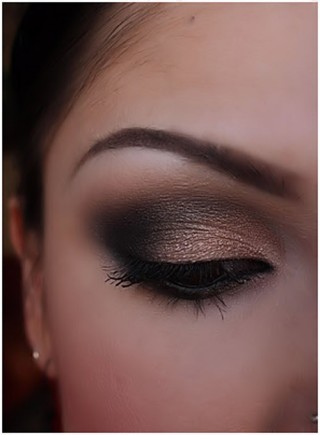
12. Black & Bronze Eye Makeup:
This is a very easy to do eye makeup look using only black and bronze shades. This can also be worn with many types of apparel. Also great for traditional wear.
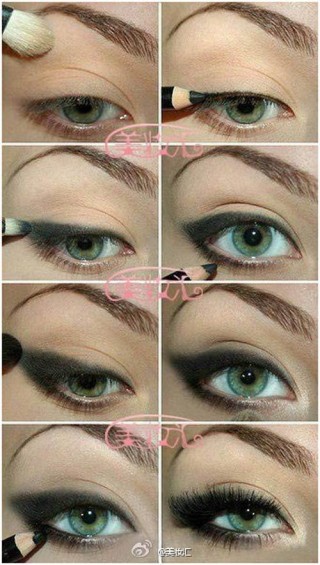
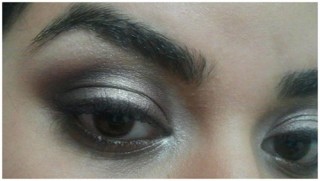
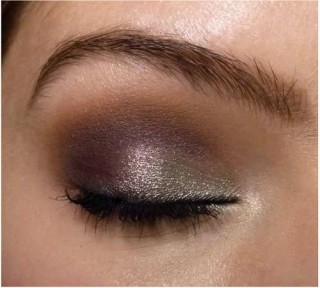
13. Neutral Smokey Eyes:
An easy to do neutral Smokey eyes with just black and a neutral shade. It’s great for office as well as for a casual event .
14. Black Eye Makeup:
Another Smokey eye tutorial. This one is super easy and can be worn for special outdoor occasions.
15. Gradient Eye Shadow:
A gradient style eye shadow look. For those with blue eyes or those planning to wear those blue lenses,
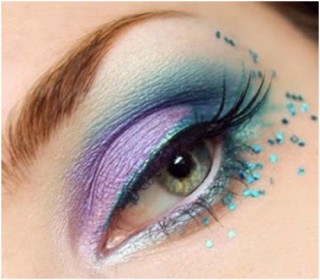
16. Glitter Eyes:
An elaborate look for those dramatic events. Add some sparkle and glitter for an added effect
17. Summer Eye makeup:
Bright summer eye makeup tutorial.
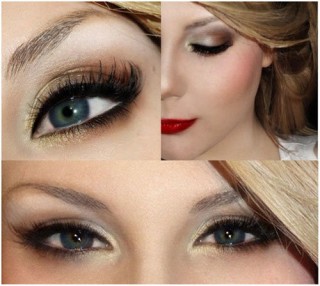
18. Taylor Swift Eye Makeup:
This is Taylor swift inspired easy eye makeup tutorial. The look is very easy and will look great for a casual event.
19. Winged Eyeliner:
An easy to do neutral eye makeup with winged eye liner. This look is easy to recreate and looks great as everyday eye makeup.
20. Ombre Smokey Eyes:
This is an Ombre styled Smokey eye. Again this look is great for wearing on any day and any event.
5 Easy Steps To Apply False Eyelashes Effortlessly – Tutorial
Long eyelashes look gorgeous and make your eyes appear bigger, fuller and more attractive. Not all of us are naturally blessed with sky-high eyelashes to create that magic! But, makeup can conjure miracles to get you all that attention. Yet, the million dollar question is – how to do it? Don’t worry. Here at Style Craze, we love to share the top secrets and tricks with all the makeup fun!
False eyelashes are a great choice to fake those curly, lengthened eyelashes. When worn perfectly, you can look beautiful without being detected! Have you spent hours in front of the mirror placing them and trying hard to fix your fake eyelashes? Or worse still, for some, they fall off after a few hours of application, thus creating much embarrassment.
Today, we decided to create a makeup lesson on how to fix those fake eyelashes effortlessly so that you don’t end up sticking them out in weird and strange angles.
Grab the products required and let’s get on to the mission of fixing them perfectly.
- False eyelashes
- False eyelash glue
- Cotton swabs
Step 1:
The most important step to understand while dealing with false eyelashes is that they should fit perfectly or at least be almost the size of your natural eyelashes. Otherwise, they might not fit well and at the same time, slip off easily.
Roughly place the false eyelash above your natural eyelash, and check for the size. If the size is slightly bigger than the natural eyelash, then you can go ahead and use them. But, if it is too big in size, use a fine pair of scissors and snap the extra length to fit your eyes perfectly. This step is crucial before gluing the eyelashes. If you really don’t understand how to cut them perfectly, hold the false eyelash strip against your eyelid and trim it carefully. The added benefit of trimming the individual false eyelashes is that it helps one to get a natural, beautiful look. As my false eyelashes fitted perfectly, I did not have to trim them.
Step 2:
Take a false eyelash glue of your choice and squeeze out a tiny bit behind your hand or on a piece of tissue paper.
Step 3:
Gently run the false eyelash outer strip rim along the glue to adhere the glue perfectly with the lashes. The glue has to get perfectly coated along the entire false eyelash strip; you can put a little excess at the beginning and end of the strip as this place needs to hold the eyelashes intact. Then, hold the eyelash strip and blow gently to dry the glue a bit before applying it to your eyelids. I recommend you to hold the eyelashes at least for 20 seconds for the glue to activate. Thereafter, they will adhere well to the eyelids.
Step 4:
Now, gently place the eyelash strip on your eyelid. Position it as close to your natural eyelashes as possible. Place the false eyelash at the center of your natural eyelash first, then use a tweezers to position and fix it perfectly.
Now, use a clean cotton swab and gently push the false eyelash from the top to place it perfectly.
Step 5:
Now, the eyelash glue will dry out and turn transparent. Then, use your black liquid eyeliner and fix the small gaps, which might peek through the false eyelashes.
Apply lots of mascara to your natural eyelashes and false eyelashes to complete the look.
You are done! Wasn’t it simple to follow? Try it and let us know.




Stunning photos very awesome you have a gifted for doing such a beautiful and stunning makeup. Do check out Filipino Makeup Artist
ReplyDeleteHVAC Service in Mississauga
ReplyDelete